Over the course of my career I have been to a number of conferences, as an attendee, a vendor, and a speaker. I love conferences. In recent years though, my job hasn’t encouraged participating, so I found myself curating conferences I would want to go to for personal reasons rather than professional ones. The Hackaday Supercon, Crowdsupply Teardown, and Defcon, always make the list. There are “grown up” conferences for makers. Unlike Maker Faires, which are more and more geared towards kids and education, Those conferences are meant for adult enthusiasts (kids are welcome anyways but they’re not the focus), and are meant for enthusiasts and engineers to get together and showcase, share and have fun with tech.
Defcon introduced electronic badges many years ago, and from there spawned a “movement”, #badgelife, that many conferences have embraced. Now most of these conferences sport electronic badges, and there are many “unofficial” badges built by villages, local defcon chapters, enthusiasts, etc. These badges blend art, technology and often hacking. Some have become collectibles.
Those badges have extension ports, that allow smaller circuits to be plugged into them. These smaller circuits are jokingly referred to as “Shitty Add-Ons” or SAOs, and they are cheaper and easier to make, and represent an entrypoint into #badgelife for people who would like to participate. I always wanted to make one.
Lo and behold, Defcon 31 badge was announced: and it wasn’t an electronic badge. A work of art none-the-less, but not a blinky one. For my first SAO, I wouldn’t rely on the SAO standard then, and would make a self contained blinky thing that would fit in the “port” left open for creativity. Details here.
Having made a last minute decision to attend Defcon this year (due to a broken wrist) I had 2 weeks to build something.
It would have to fit into the badge “chamber” so I decided to make it 3 parts:
- A PCB whose only goal would be to light up 1 LED
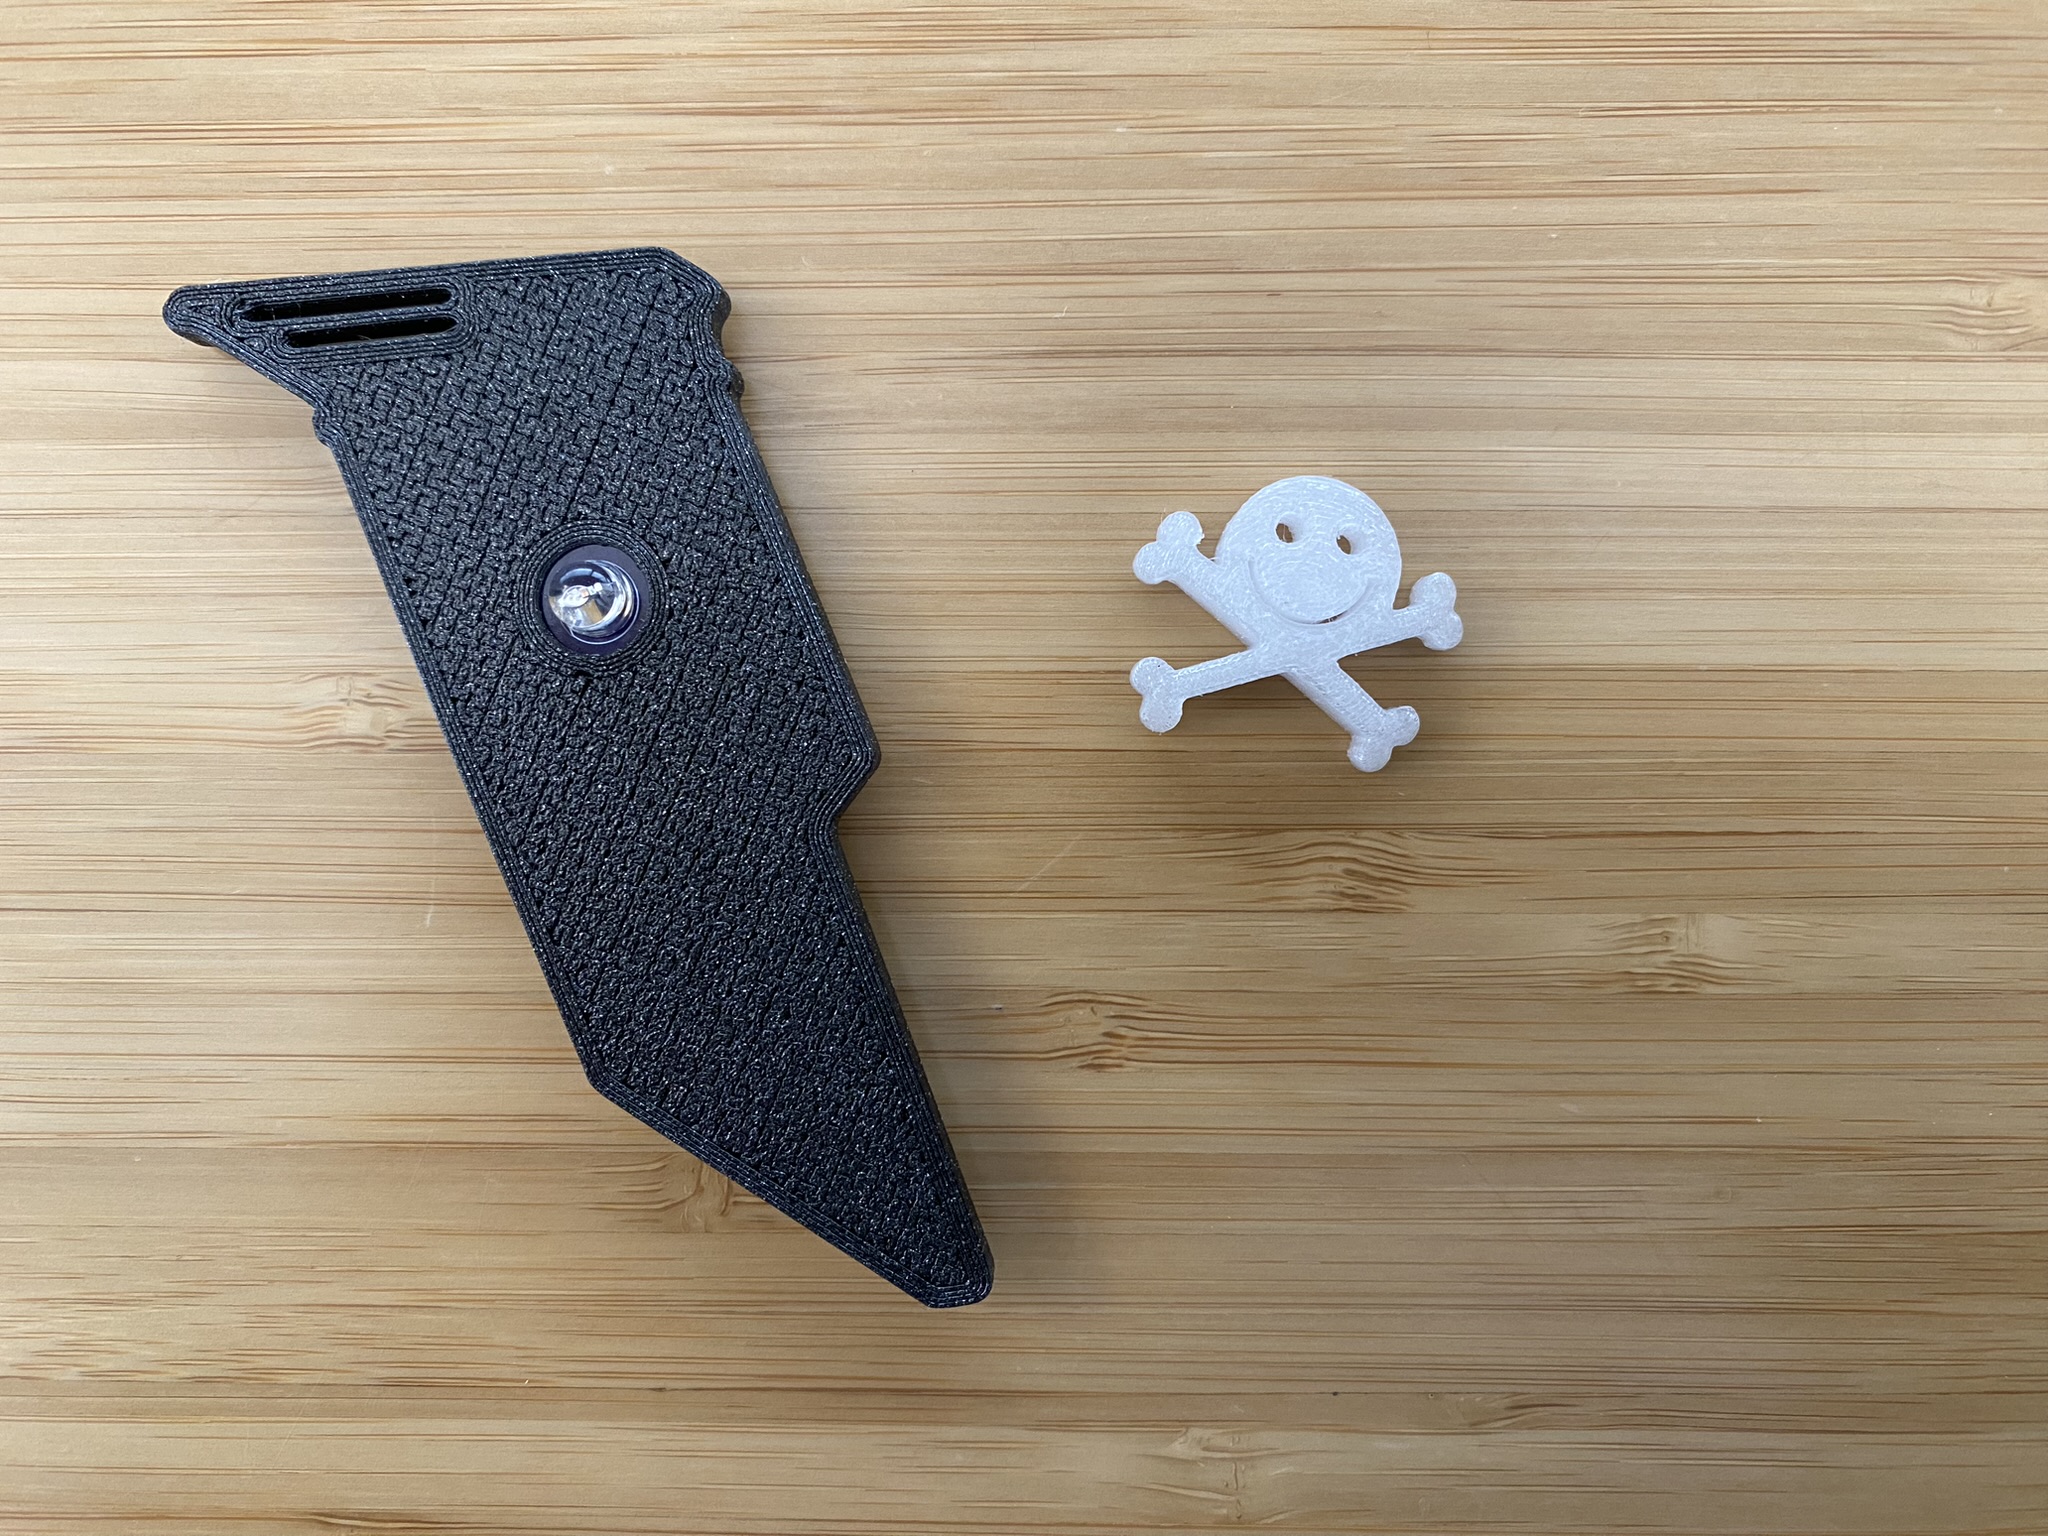
- A “shard” that would be a 3d printed flat part that would fit solidly into the chamber and would be used to “hold” the PCB in place
- A 3D printed accessory mounted on the LED bulb itself
I set a goal for myself to produce 30 units and give them to people who were being nice or showing cool things at Defcon 31. (Spoiler alert: I ran out by the end of day 2). Here’s the result:
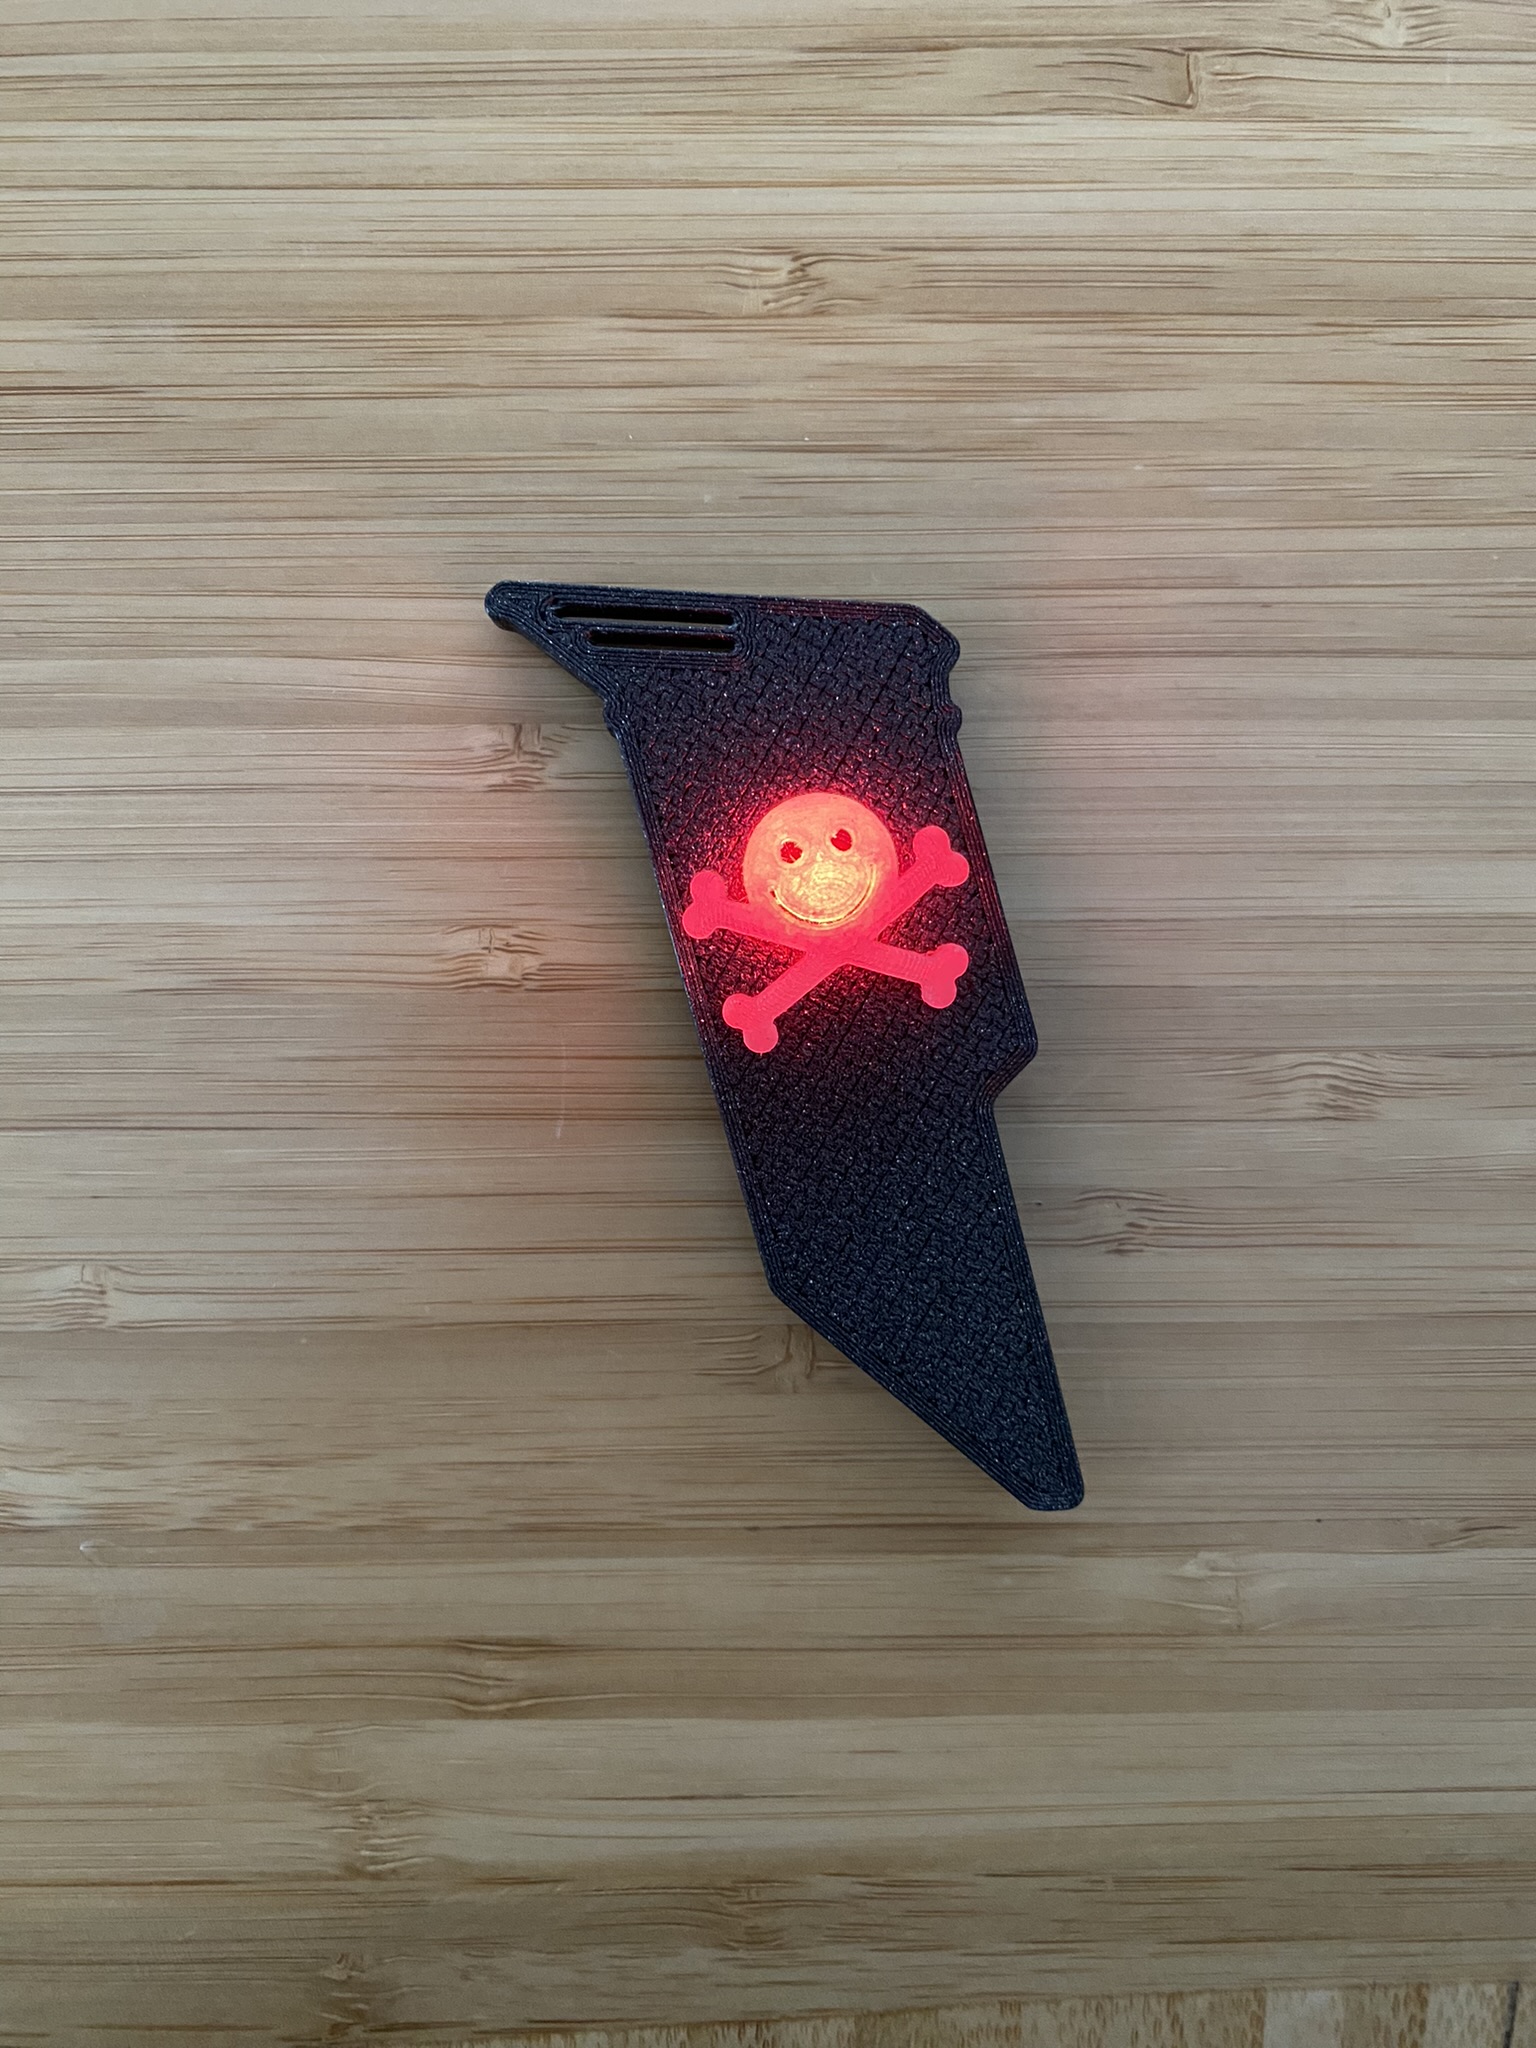
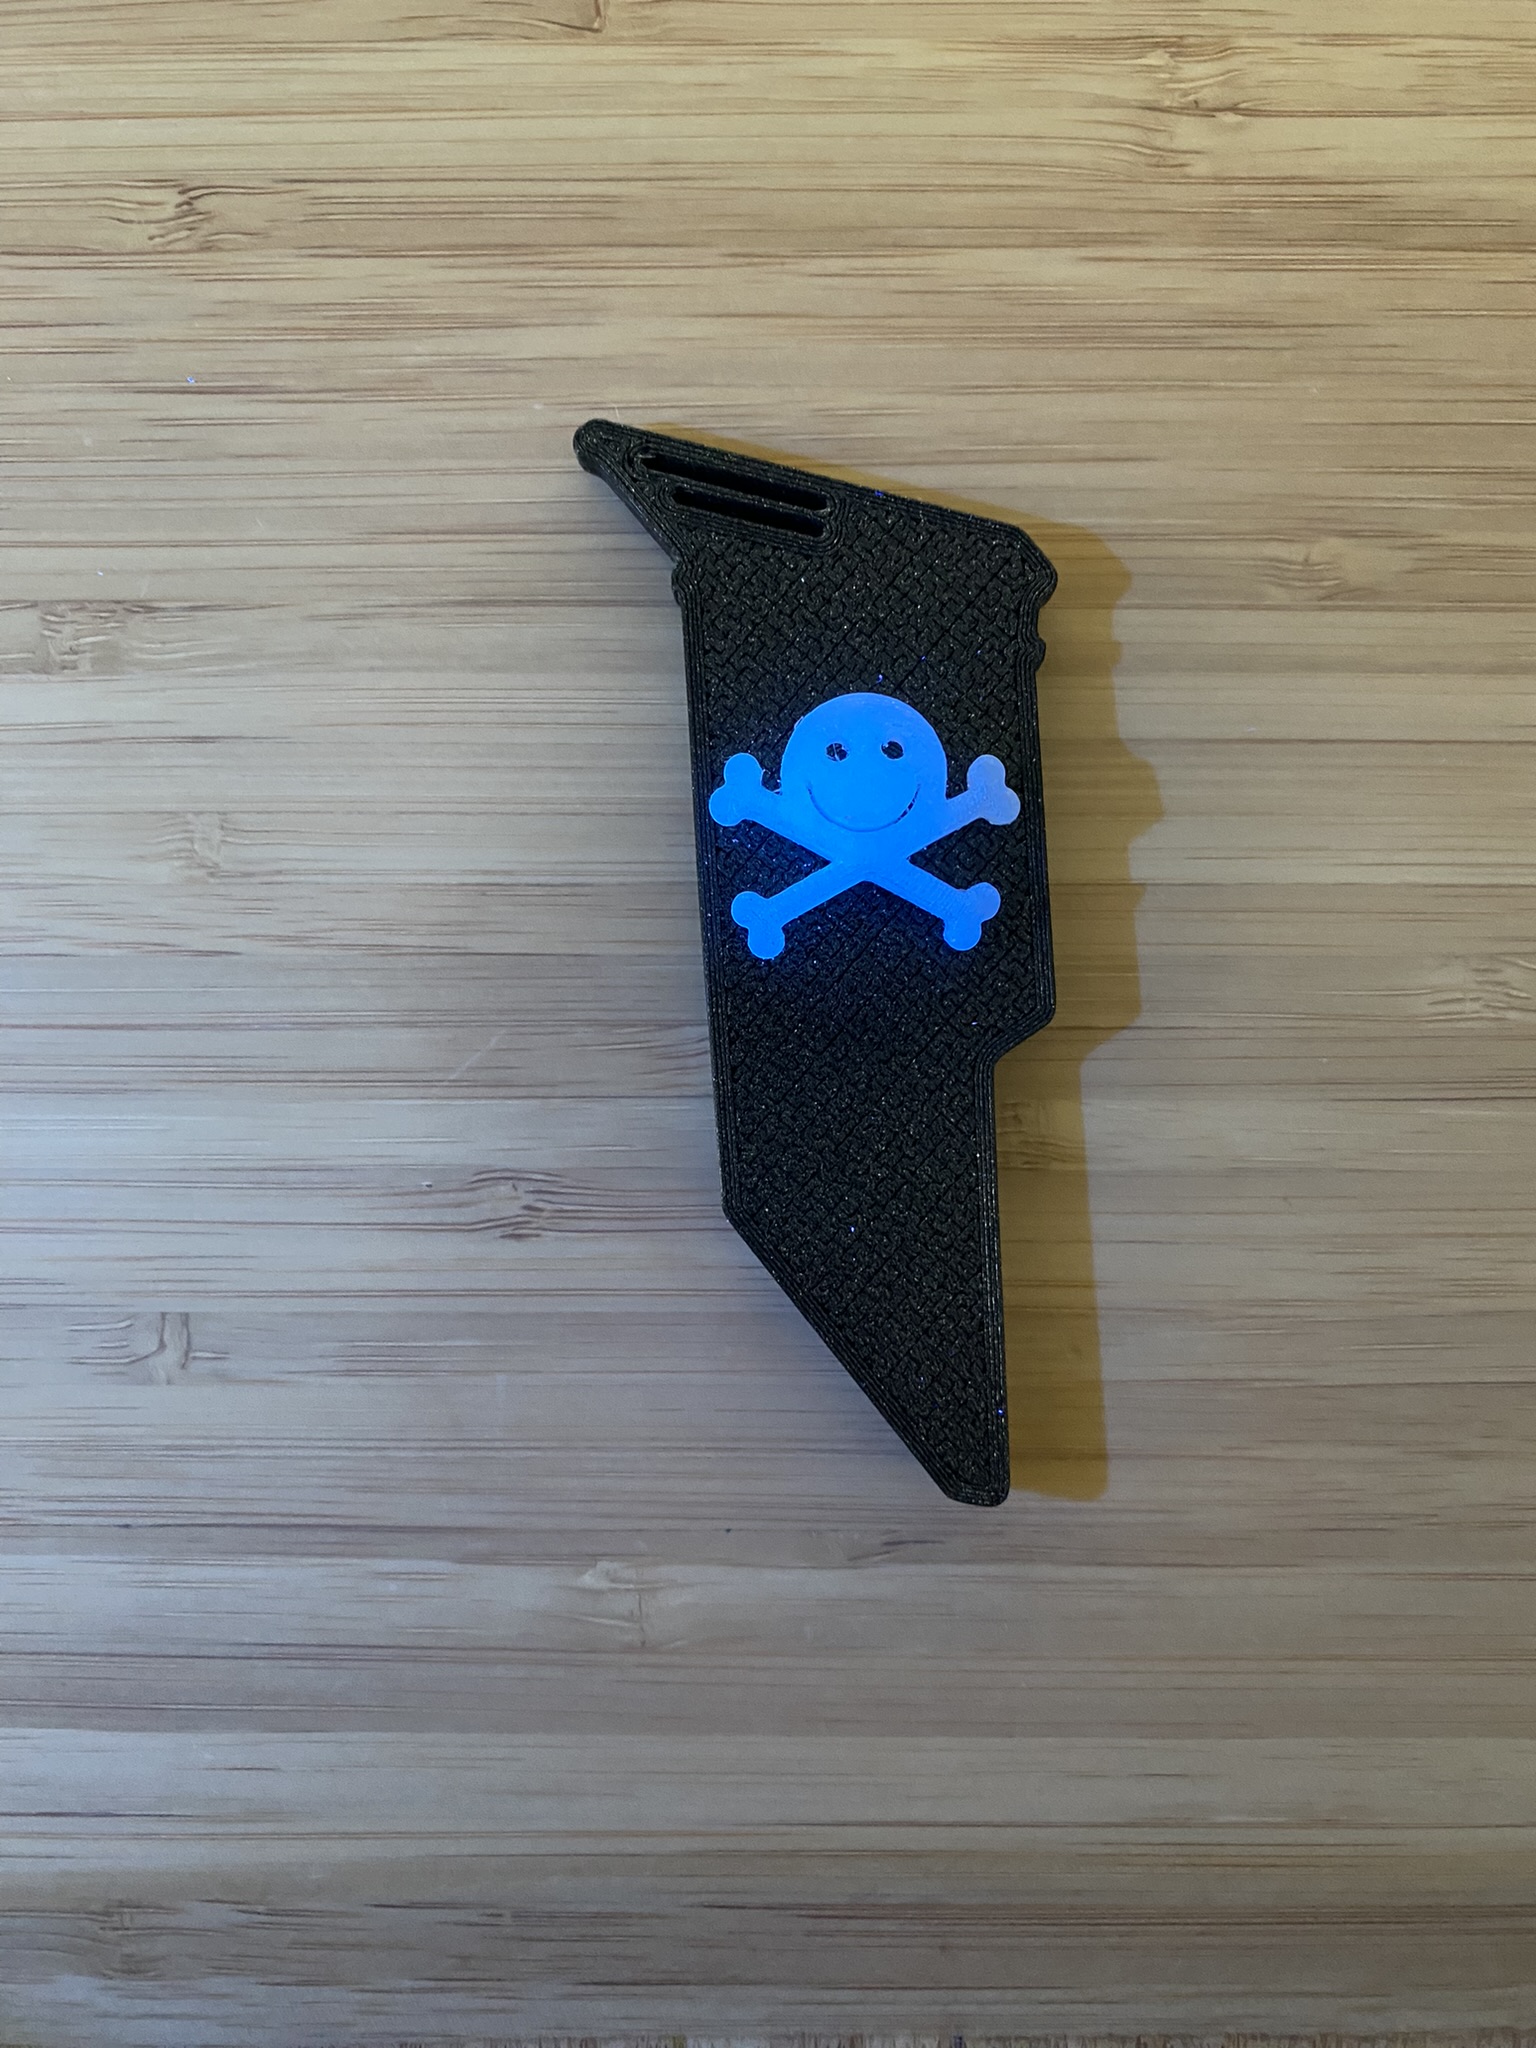
With only 14 days to the conference, I had to make 30 units in 1 go.
The PCB
The fastest PCB fab I knew how to use is Oshpark’s in fast turnaround mode, which takes about 5 business days. That would eat into half the alloted time already, and I had one chance at getting it right. Having designed very few, uber simple PCBs in the past, i knew I had to keep it extremely simple as I couldn’t afford to make multiple prototypes. I also had to use parts already on my shelves to avoid delivery times. I figured I wouldn’t have time for an MCU based thing, so I went for the simplest design I could do with parts I already had:
- CR2012 batteries (and battery holders)
- Micro-switches
- Color-changing LEDs that don’t require current-limiting resistors.
Here are the design files: 3D models and KiCad project on Github
Unfortunately Fedex did not do me a solid and even though I had paid for overnight shipping, I had ignored the fact that this was a business service that doesn’t deliver on the weekend. So my one assembly weekend was spent experimenting with the 3D design of the shard and accessory, and I would have to solder all 3 PCBs in the 2 days before my flight out.
The shard
The shard design itself was meant to be a simple flat part that would fit into the chamber and hold the PCB: another redditor had already made 3d models that I could start from and posted them on thingiverse: https://www.thingiverse.com/thing:6060558
Using Kicad 3d visualization feature, I was able to export a 3D model of the PCB.
I then imported both the shard design and the PCB STL files into Shapr3D and went through 3 iterations to find a proper mounting mechanism. I wanted to avoid fasteners, so it would have to be friction-fit.
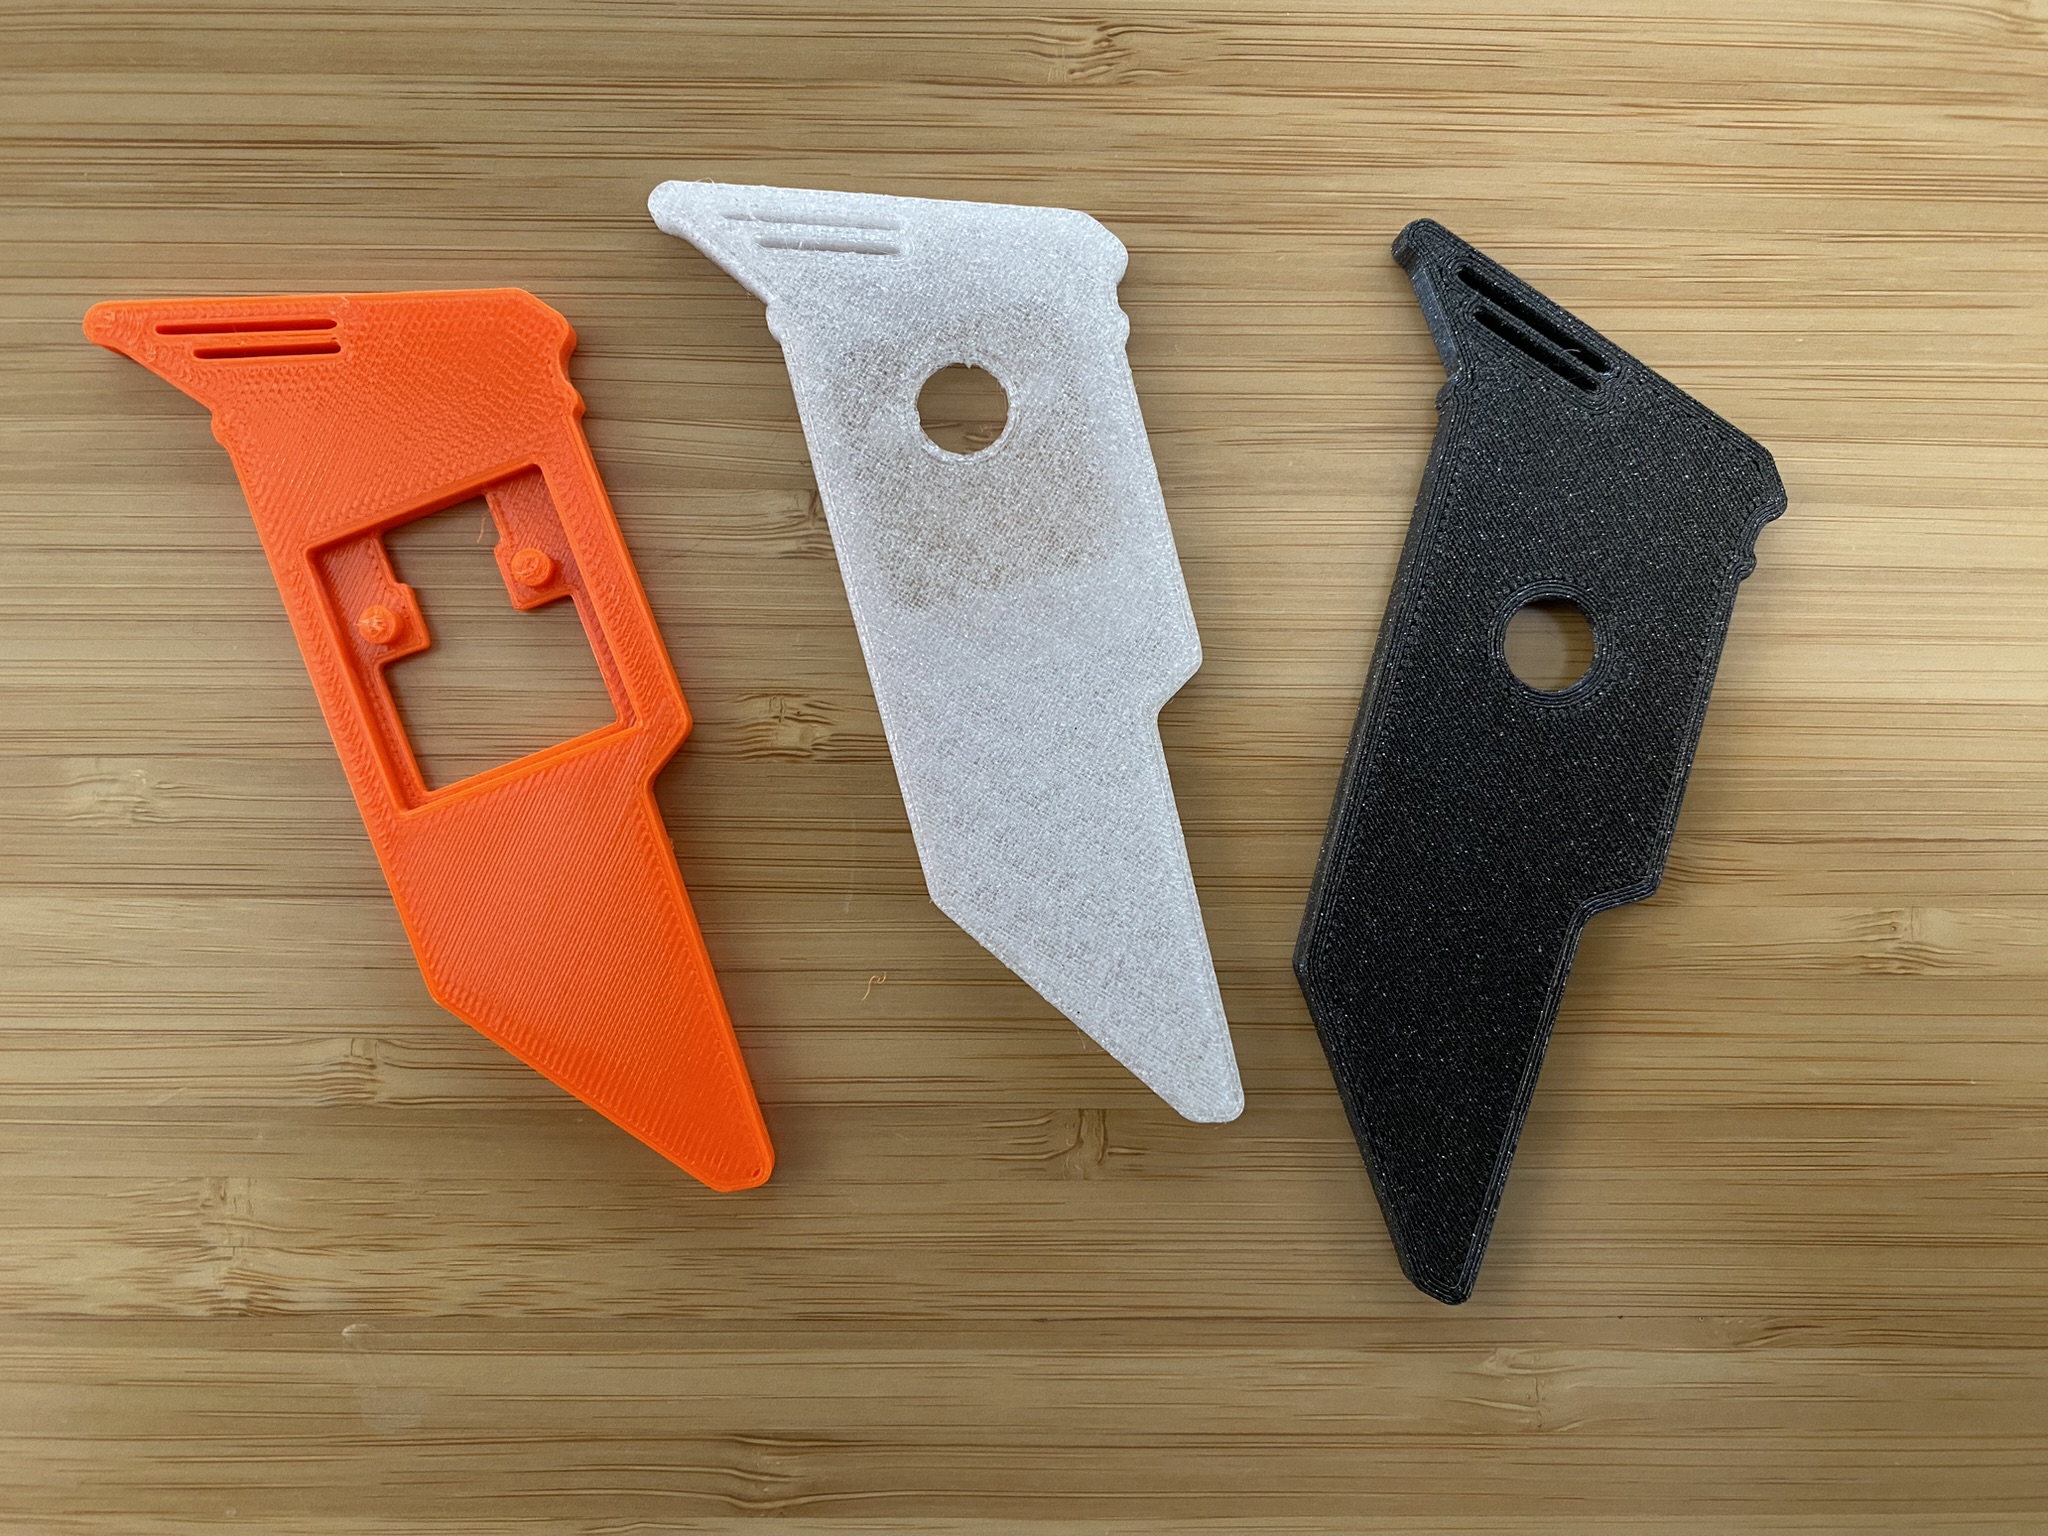
- The first design was kindof stupid: for the sake of leaving the PCB exposed, i had to make smaller brackets, and a weirdly shaped cutout for the micro-switch and battery:
- The second design was much better: PCB can fit squarely in the back, only the LED gets exposed in the front, but it wasn’t placed correctly in the chamber (too high)
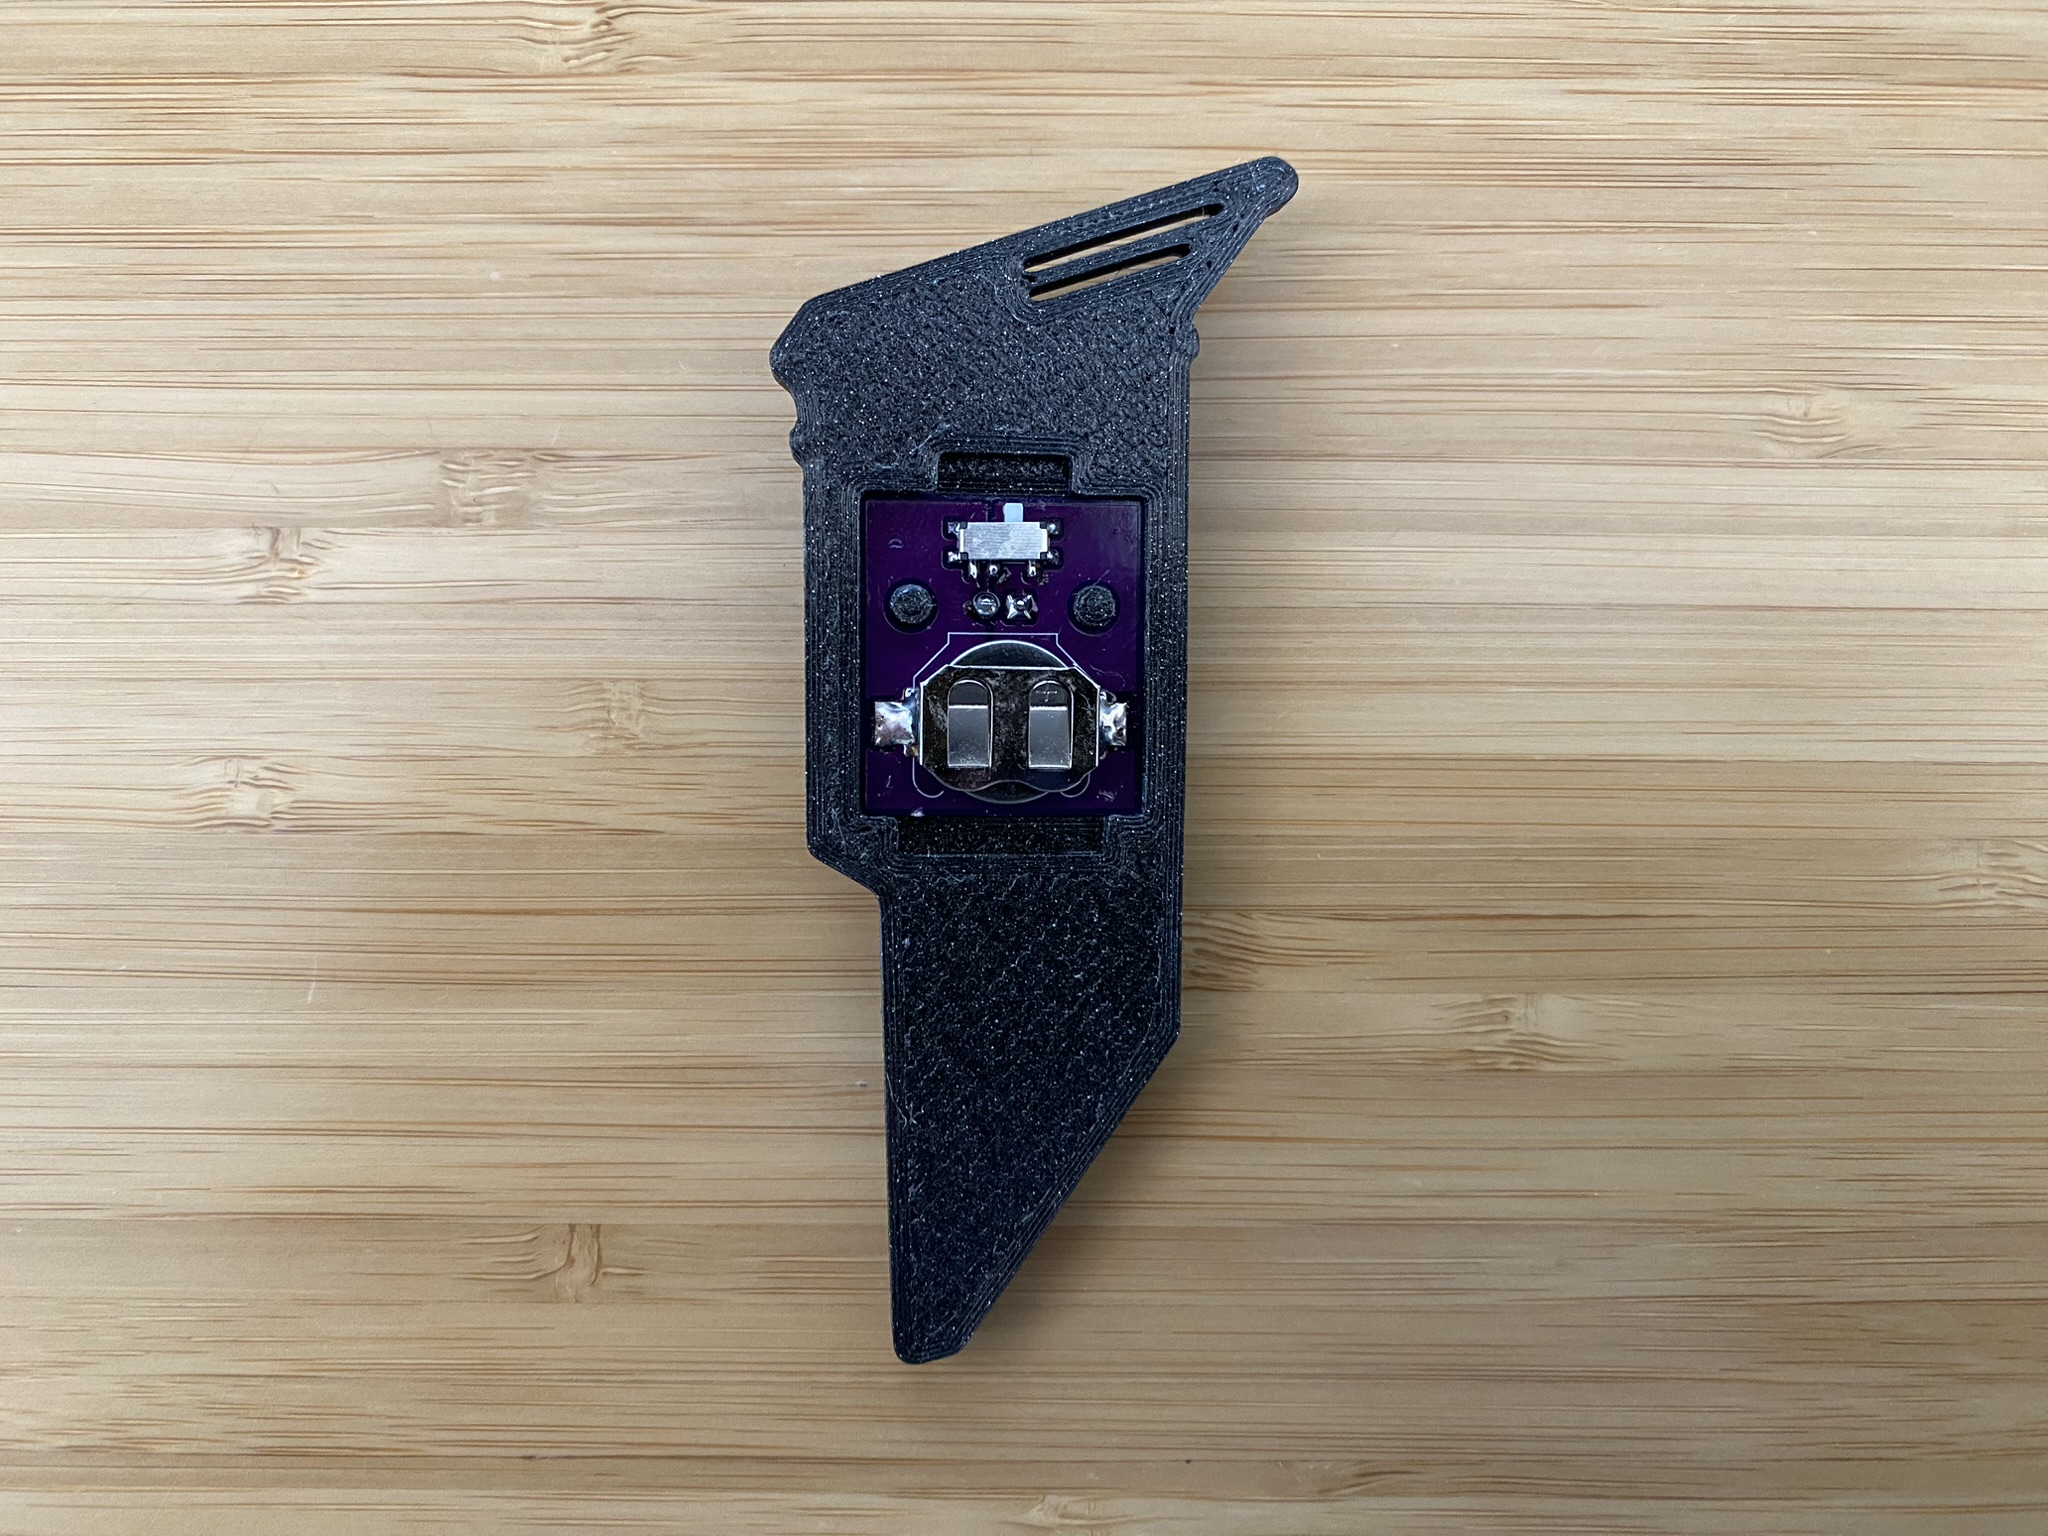
- The third design did the trick: the shard provided a nice even surface with only an LED poking out. the PCB was easy to insert from the back. I had arranged reliefs to make manipulating the switch and changing the battery simpler.
As seen from the back, with the PCB inserted:
The accessory
I initially had the idea of printing multiple accessories and letting recipients of the SAO choose their preferred one, but I was also struggling with the choice of material. Transparent filament isn’t really transparent (not glass-like anyways) and doesn’t look nice lit from behind. Glow in the dark filament had a nice diffusion factor to it and had the benefit of still shining a bit even if the LED was off. Out of the 2 I picked, one of them was a nightmare to print with, consistently clogging the nozzle. So I ended up with [Glow in the dark PETG from Sainsmart](TODO Link). By the time i was done experimenting with filaments, I had only one design: a tiny “Defcon Jack” that i had lifted from the defcon logo and rendered in 3D in Shapr3D. I figured it would do the trick and that I didn’t need to find other accessories.
Test fit
In order to make sure the design worked, I printed 2 version of the “chamber”:
- The STL File directly from the Defcon media server
- Another version that was split in 2 parts by another redditor
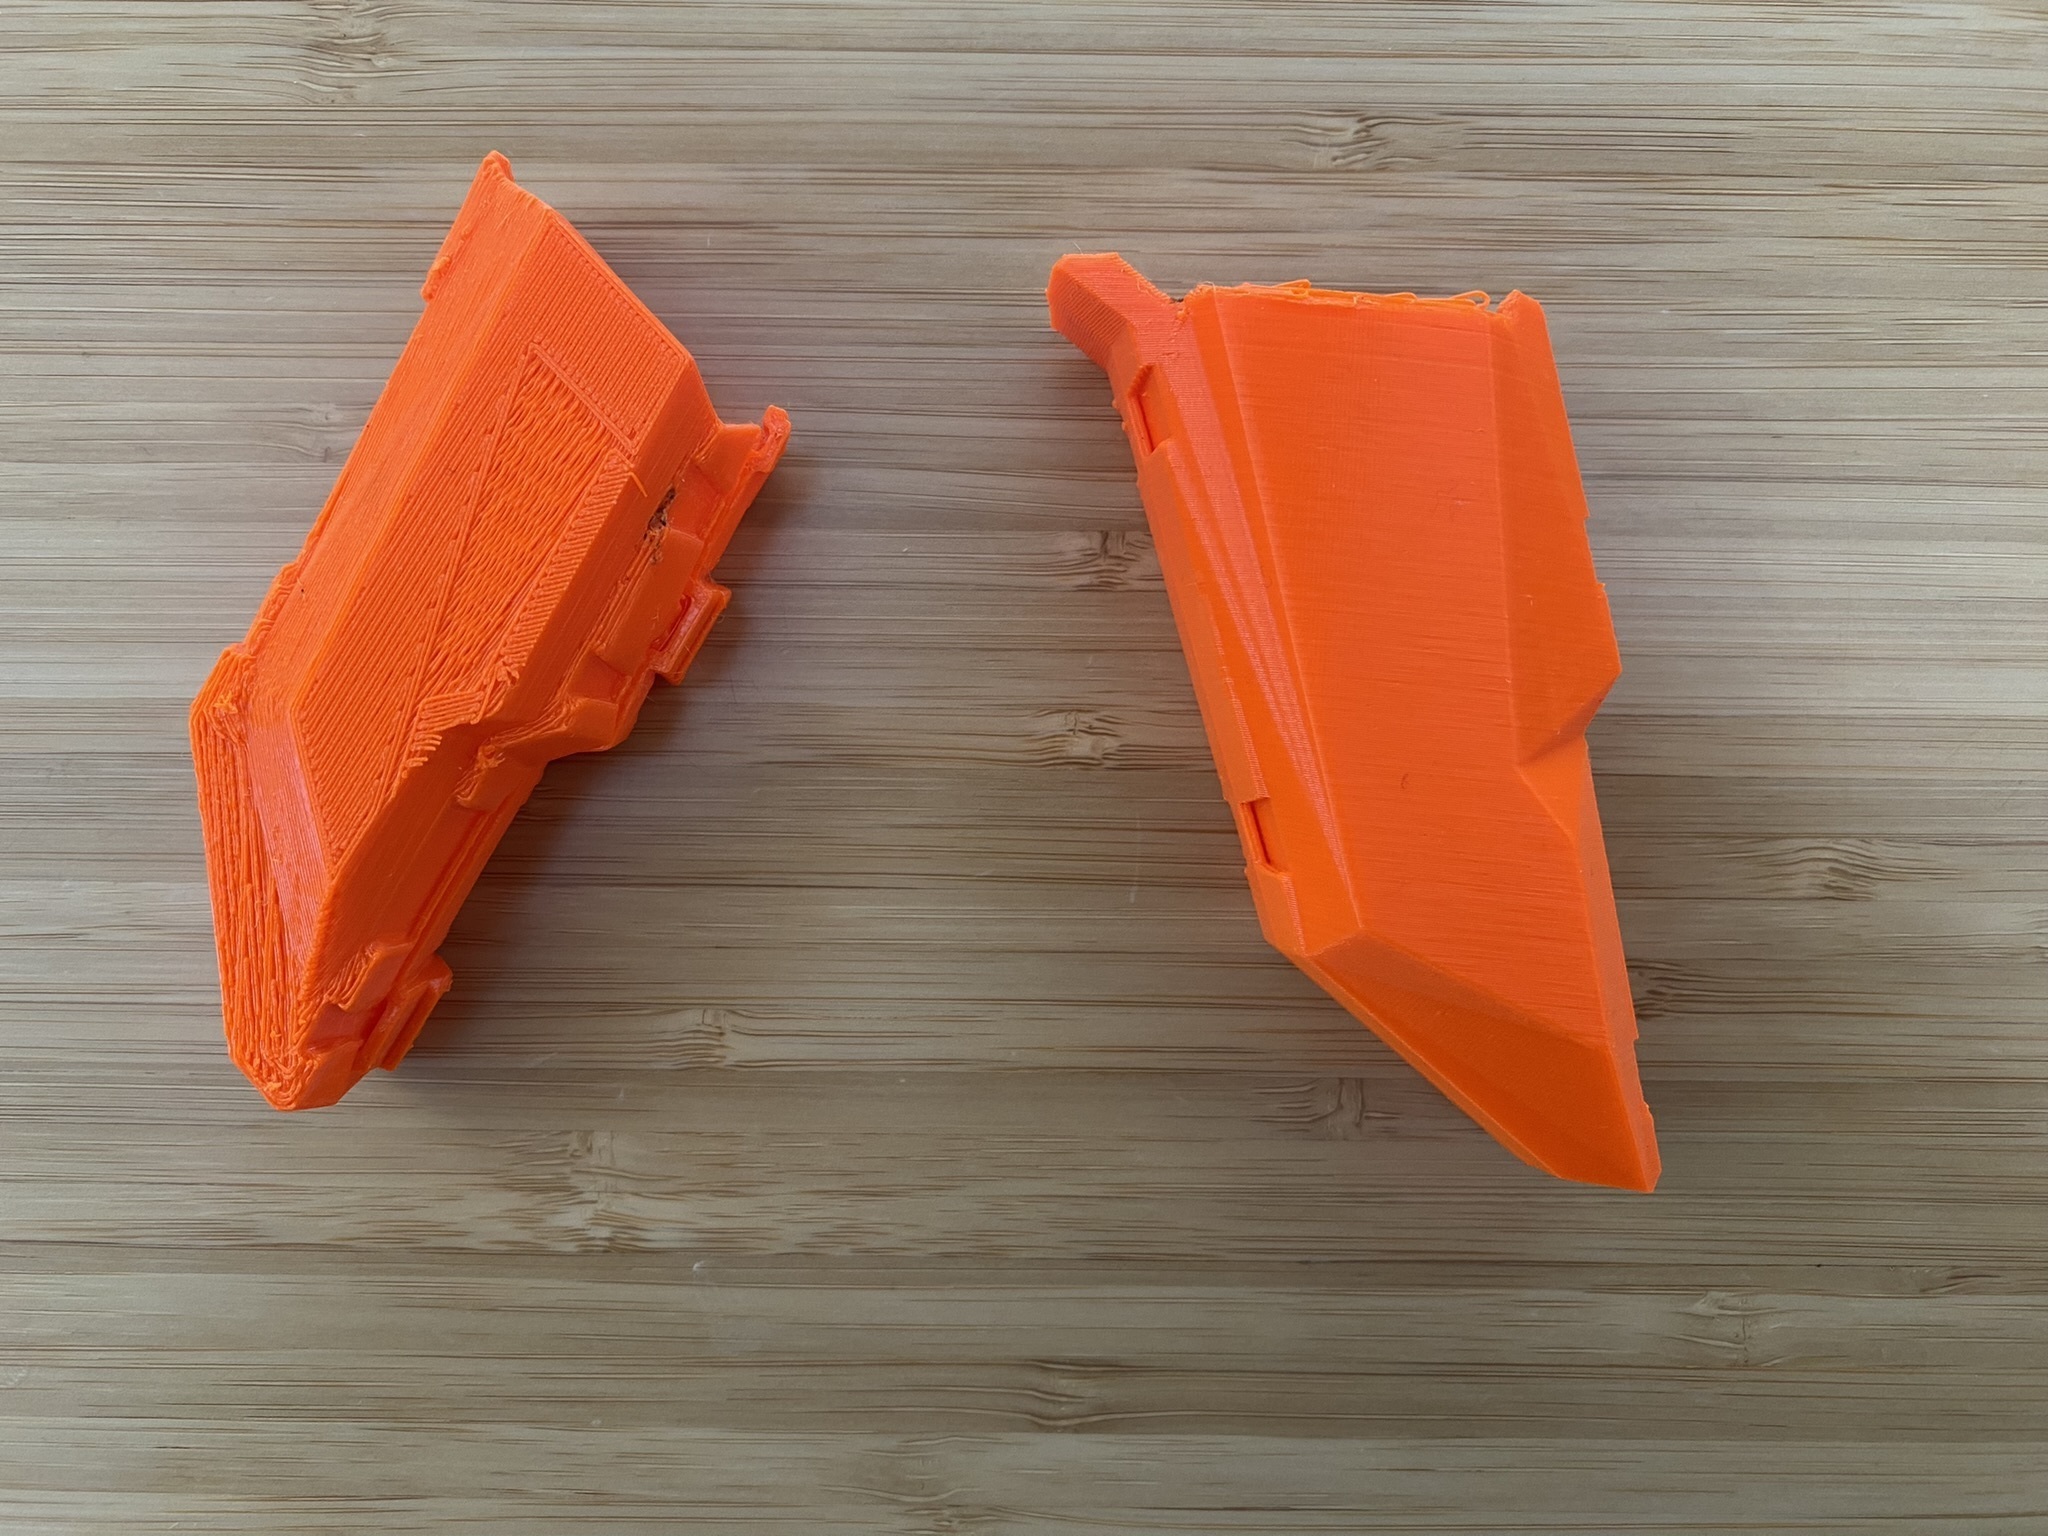
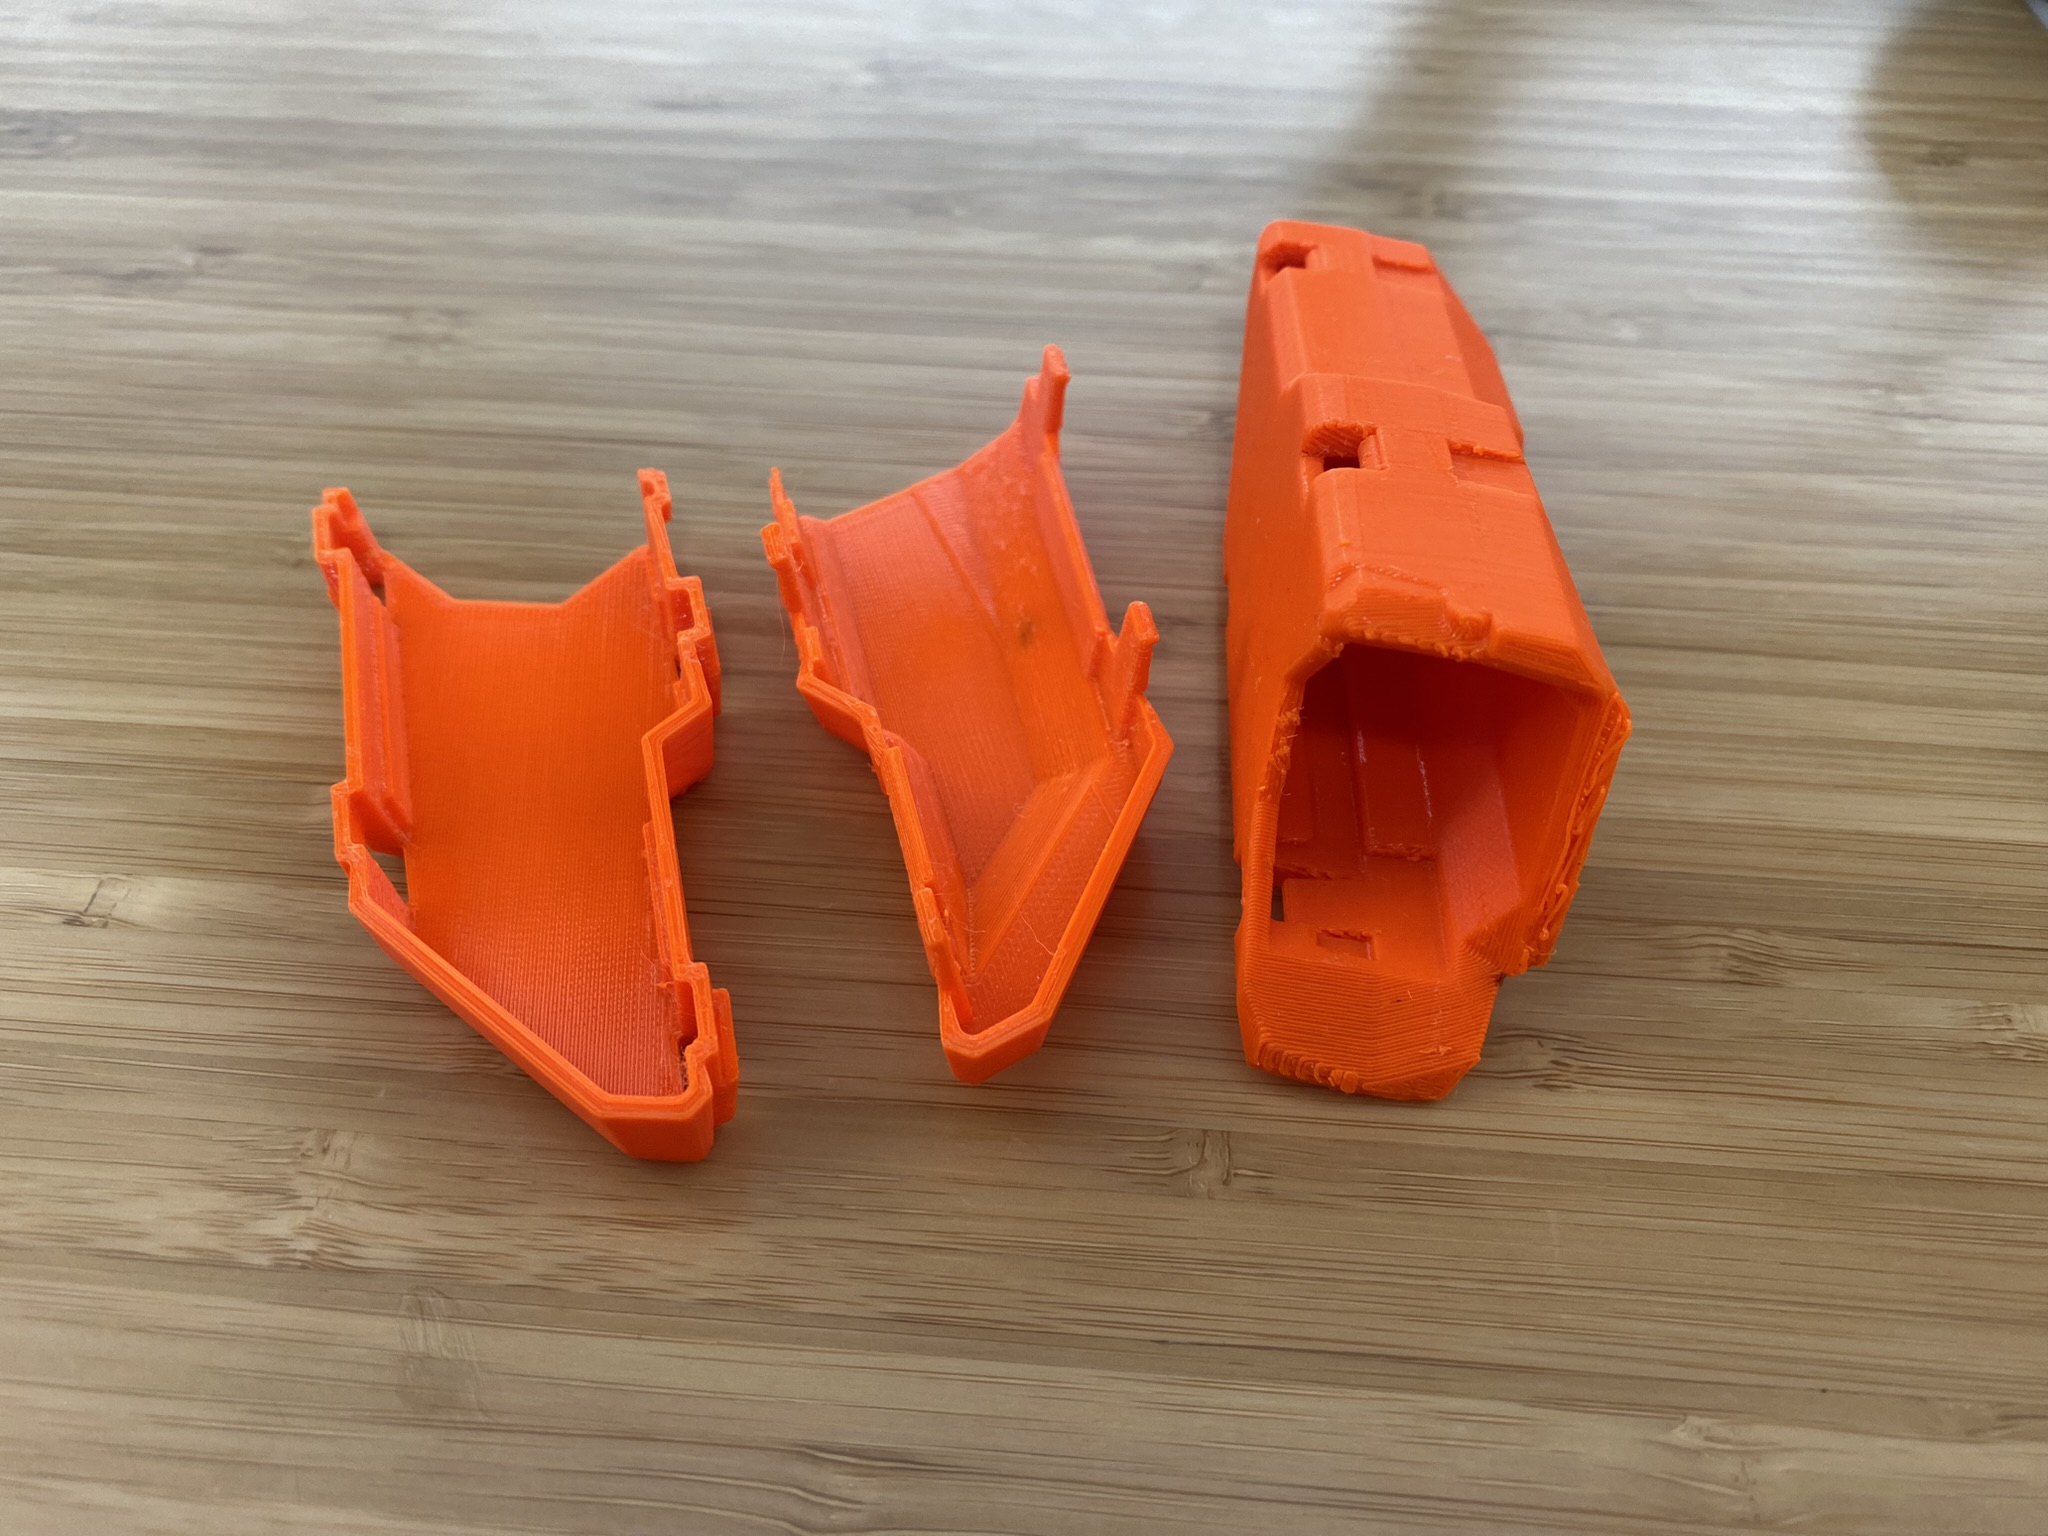
If the SAO fit both versions, I was decently sure I had done what I could
Packaging
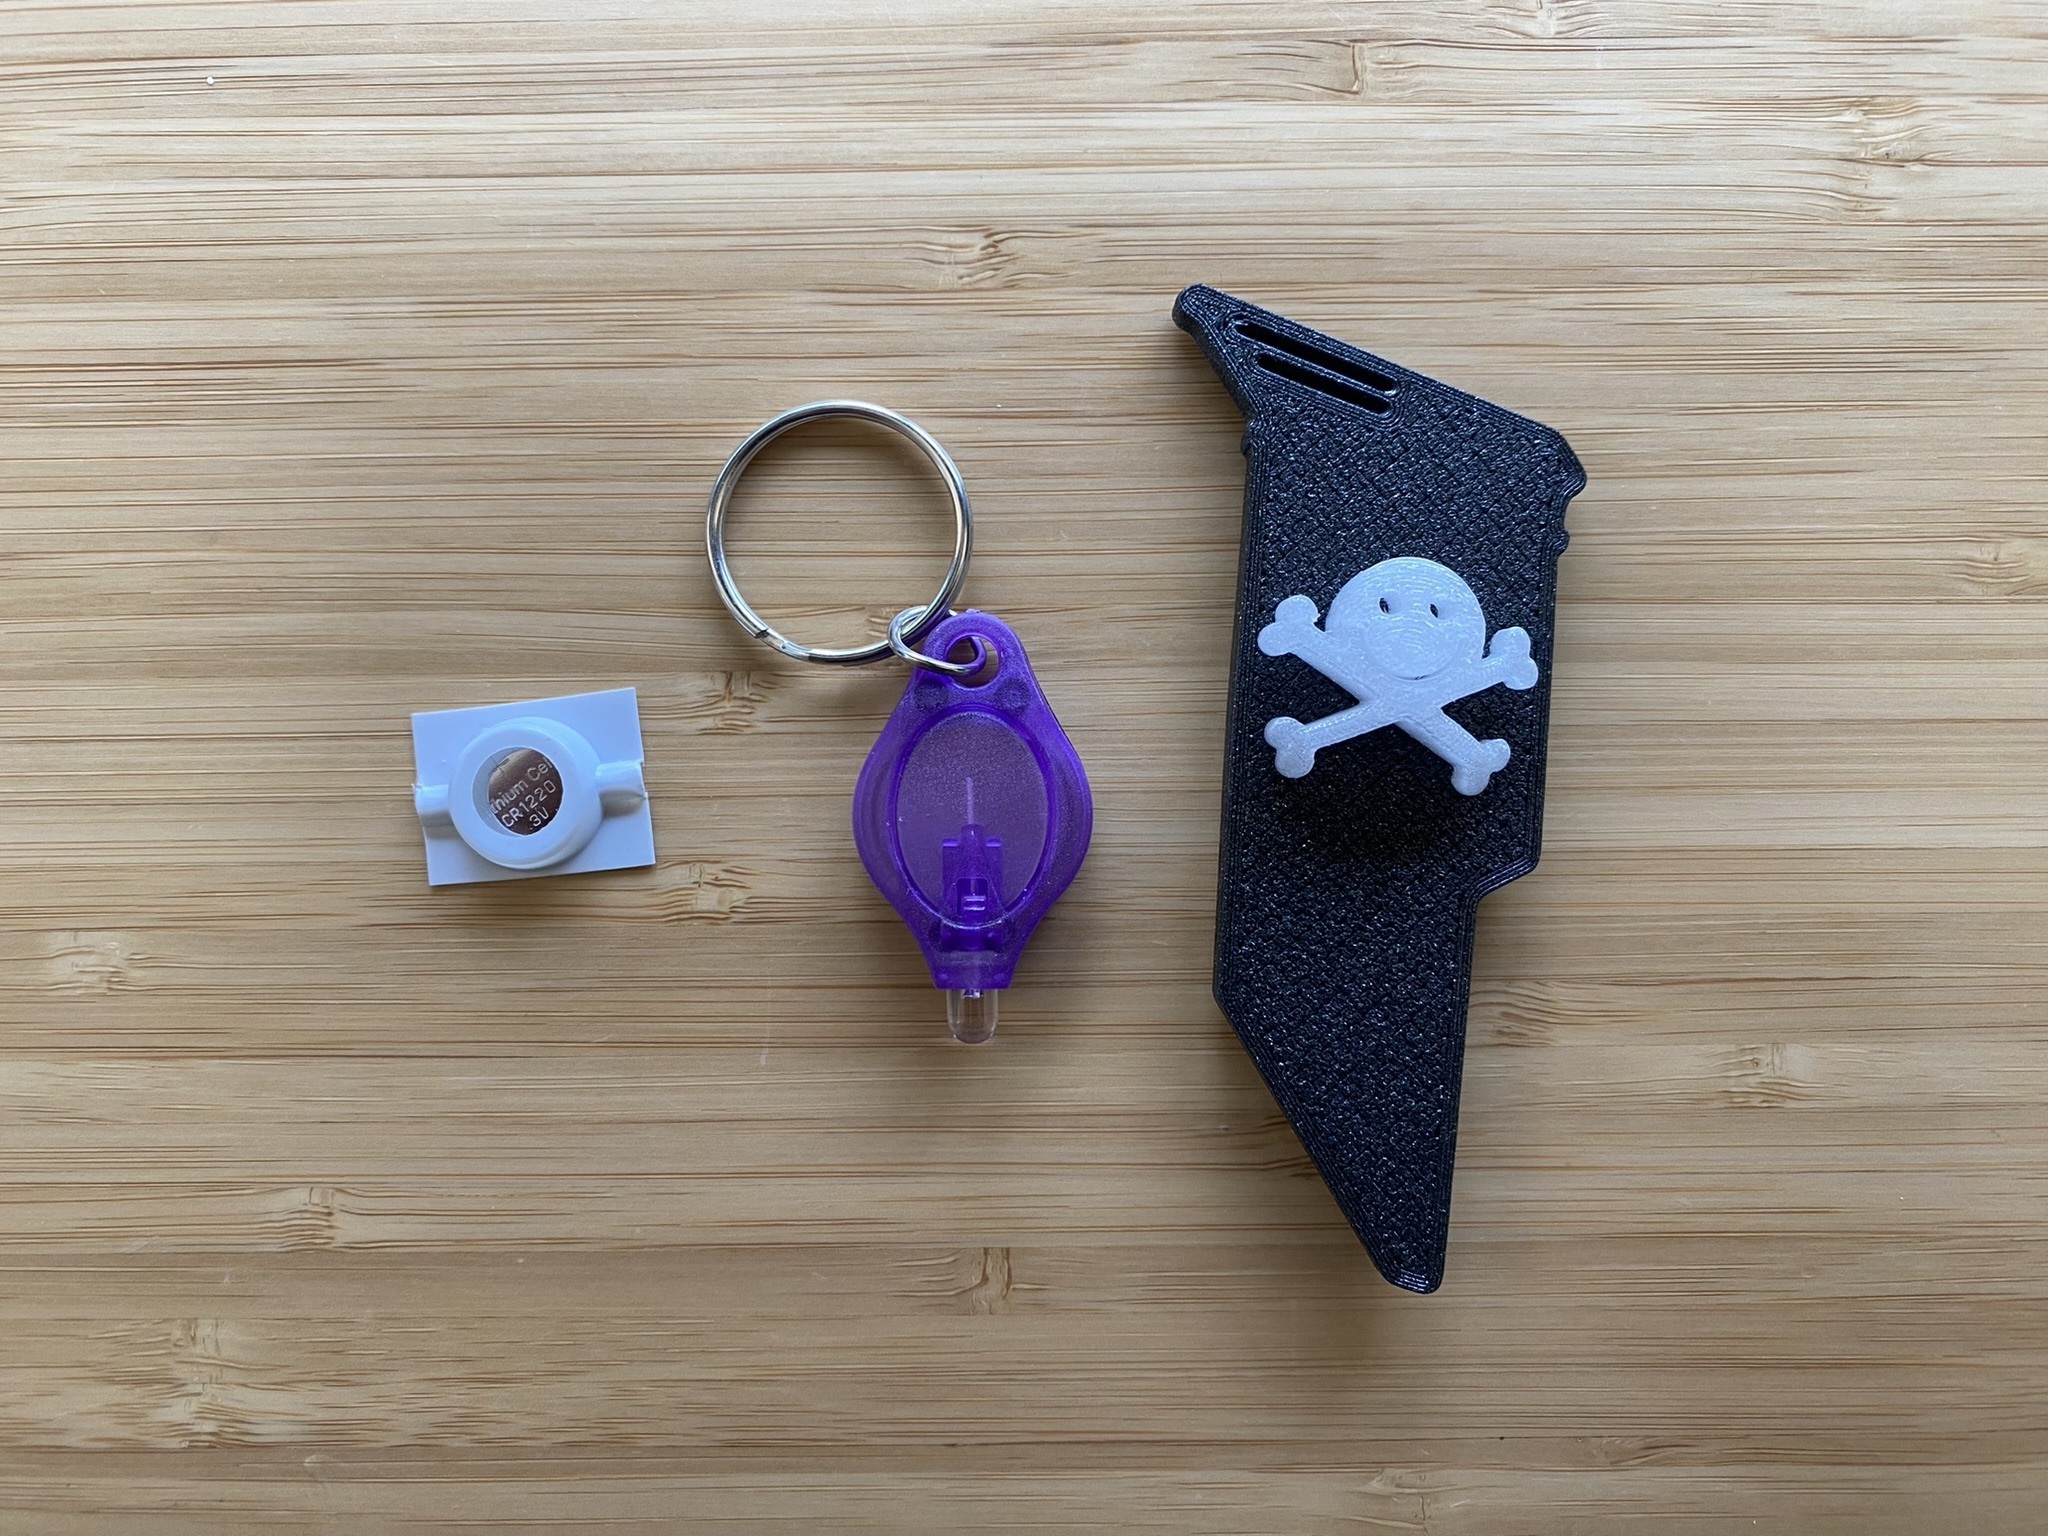
As the deadline approached I realize fishing 3 different parts to be assembled from a loose bag would be a poor experience, so I decided to package each SAO individually. In doing this I was reminded that packaging will be the first impression, and I decided to improve the value of the package a bit: on top of the SAO, I would add a UV lamp (to prime the “glow-in-the-dark” accessory), a spare battery, and for a lucky few, a second accessory from the limited quantity of glow-in-the-dark PLA prints that didn’t fail.
Here’s the result:
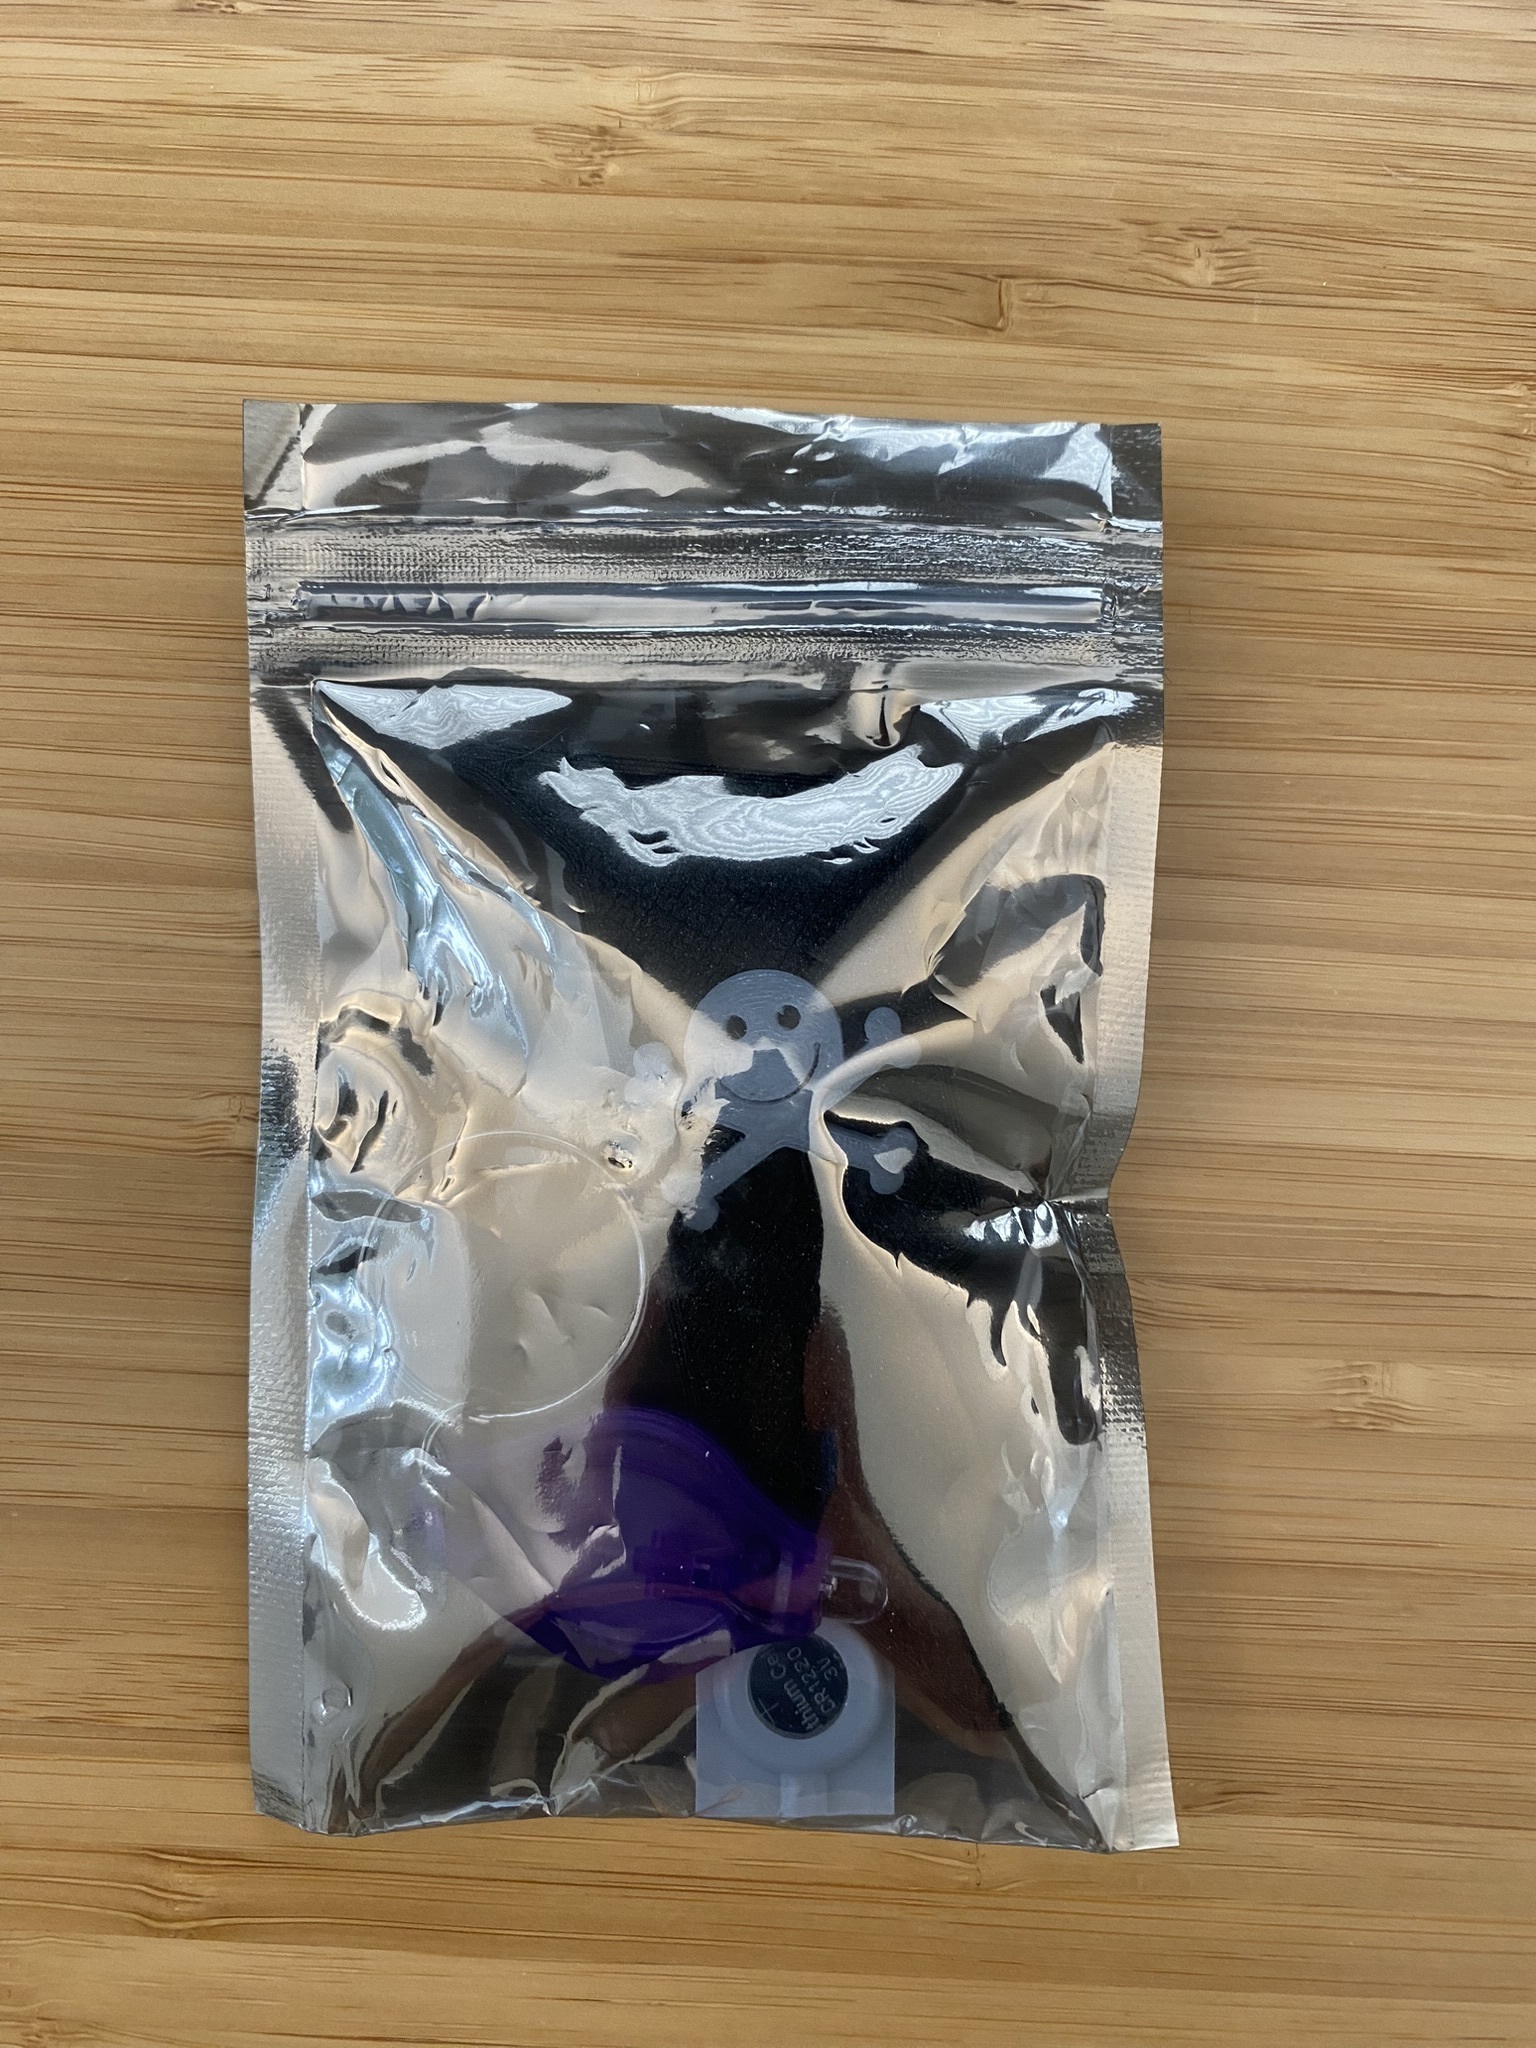
I decided to not include any reference to social media (I don’t actively maintain any social media account) or myself (in case people hated it or it caught fire etc). Turns out it didn’t catch fire, people loved it, and I wasted an opportunity to stay in touch with the fine folks I met. Lesson learned. I will sign my work in the future.